
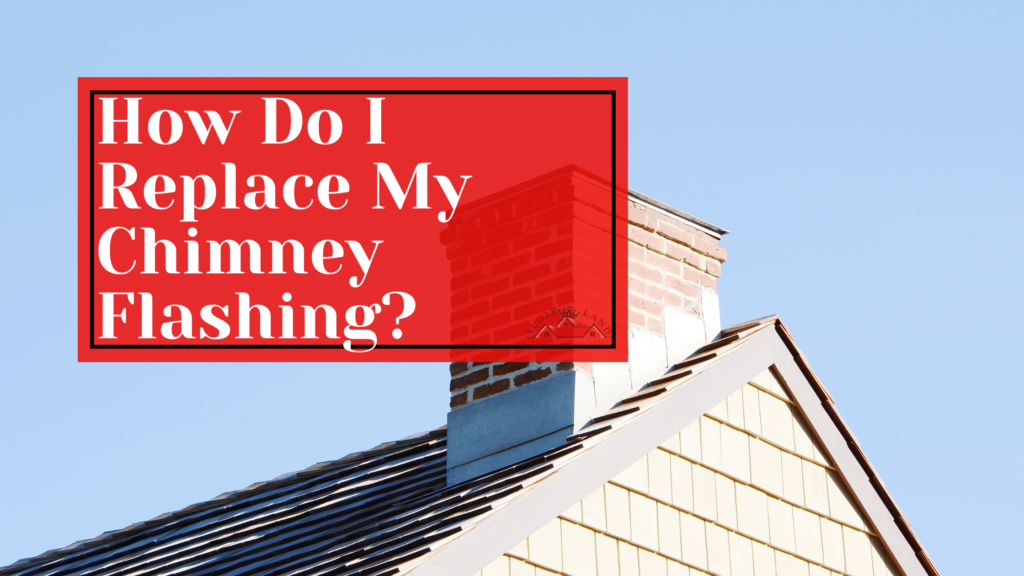
If you’re wondering “How do I replace my chimney flashing?” Let Sugar Land Premier Roofing help you out. Leaks around the chimney are a common cause of roof damage. Usually, the chimney flashing is to blame!
This is an outline of how to flash a brick chimney so that it functions effectively as part of a sound roofing system. This article focuses on flashings for a composite asphalt shingle roof because it is the most prevalent form of roof in the United States. However, the overall flashing technique is the same regardless of the roof material.
If you want to know if the flashing project was done well and if it requires maintenance, you need to recognize and understand good chimney flashing.
This leads us to learn about a two-stage procedure:
Step 1: Figure Out What Is Wrong with Your Brick Chimney’s Flashing
Before anything else, let’s know the two distinct brick chimney flashings:
- “Cut-in” or “Mortared-in” Counter Flashing: Insertion of the counter flashing’s top into the mortar line of a masonry chimney.
- Surface-Mount Counterflashing: There is nothing but a caulking bead between the brick and the flashing to keep water out if there is no stair-step mortar and counter flashing. So, if you prefer a surface mount counter flashing over another design, you will have to have someone inspect your chimney and re-caulk it every five years.
Warnings that your chimney flashing needs repair:
- Your roof may be leaking. But the problem may not be the flashing but rather the cap or the brickwork itself.
- The flashings on your roof are over-smothered in roofing cement or caulk.
- The metal flashings are rusted or in poor condition.
- The metal is curling or bending away from the stonework.
Do the chimney flashings are properly fitted? Does the metal is in good shape? If so, it typically signals a problem elsewhere in the chimney construction. Thus, the following are some potential causes of roof leaks around a chimney that are NOT due to faulty flashing:
- Mortar lines that have deteriorated and are now loose, cracked, or lacking.
- The chimney chase cover may be corroded or broken.
- Brick and mortar are porous, so when it rains for four or five days in a row, it will finally soak through and produce minor leaks around masonry chimneys.
- A fractured crown: Roofers often merely cement over the top of a brick chimney’s crown. But if you look closely, you could notice a fissure running the length of it. Coating it with Uniflex might serve as a stopgap measure.
Step 2: Properly Flashing a Brick Chimney
Keep in mind the following:
When it comes to cut-in flashings that enter a chimney at the mortar line, it is better to leave this job to the pros. Leaks in the roof can cause significant damage to your property and come at a higher financial cost. This job involves safety and damage concerns. Hence, most localities require a construction permit and inspection by the governing building authority for roofing works.
Now, let’s look at the parts and procedure:
Components and materials:
To properly flash a brick chimney, you will need these things:
- Chimney top cricket or saddle flashing
- The flashing at the base of the chimney or apron.
- Chimneys sidestep flashing.
- Waterproof the counter flashing by embedding it into the mortar joint and then covering it with an Ice & Water barrier.
Installation Method:
1.- Take out all the current parts and flashings.
2.- Verify that the decking is clean and in good nailing condition.
3.- Install all materials starting at the bottom, downslope side of the chimney, with layers overlapping to shed water rather than collect it.
4.- Use of an ice and water shield (adhesive roof underlayment membrane)
5.- Install the flashing around the base of the chimney (apron).
6.- To prevent water damage to the chimney, install step flashings on each of the chimney’s sides.
7.- Install the “cricket” or saddle flashing on the time side.
8.- Applying the roof underlayment onto the decking using nail plastic caps.
9.- To lay shingles, begin with the lowest row (or “course”) and work your way up (as per the manufacturer’s instructions).
10.- Put in counter-flashings
It is crucial to replace the chimney flashing at the same time as the roof if you are installing a new roof. Your flashing should be just as long-lasting as your roof! Thus, if you need roofing work done, it is best to go to a professional.
Sugar Land Premier Roofing not only abides by but goes beyond all applicable building requirements. Therefore, we can provide our clients with the best manufacturer product warranties as well as a lifetime warranty on our craftsmanship.
For more information, contact Sugar Land Premier Roofing at 832-639-1299. We service areas in Sugar Land, Katy, Deer Park, and Houston, TX.